Wednesday, March 11, 2015

Snowbound Quilters are Never Bored


The view of my latest quilt project from a vintage Kodak Duaflex camera.


With the recent snows in February and March I was able to work on projects that had moved to the top of my "to do" list. Continuing my mantra, "Every baby deserves their own quilt," I completed two projects that have upcoming deadlines. The projects included starting and finishing two baby quilts because the babies are due at the end of  March. I was able to shop my stash and use some of the fabric I already had to complete these projects. I will post those completed projects later because I like the quilts to be a surprise for the new parents.

I also completed a quilt top with liberated stars and log cabin blocks. That quilt is pictured through the viewfinder of the Kodak Duaflex camera. It was my son Sam who came up with the idea of taking photos of the viewfinder of the antique camera by using an iphone. We had a lot of fun taking various photos this way so I wanted to share. The quilt top is now being quilted and I will share when that top is completed.

Although we are in the third month of the year, I have made a vow to use more of my stash for 2015. One of my quilting friends created a challenge. When making a quilt  at least 70 percent of the fabrics should come from your stash. I thought that was great idea because it gives you the opportunity to still shop for new fabrics. Just pair a bit of  the newly purchased fabrics with what is in your stash.  This is a great challenge and a great opportunity to do a bit of destashing. With the 70 percent rule I hope to post photos of some great quilts created in 2015 with this challenge in mind.

Happy Quilting!

Sunday, January 4, 2015

Deadlines set the tone, keep us moving in a positive direction

The front of the Ed Emberley inspired baby quilt.


If it wasn't for deadlines I might not ever get anything finished. So with the deadline of babies being born I completed two baby quilts in December. Welcome to the world little ones. And along with baby quilts comes an opportunity to give a new quilting technique or fabric a try. For my first new arrival I made a quilt with none other than Ed Emberley fabric. When explaining this fabric to others I was surprised that not everyone has heard of this fantastic artist that taught my own children to draw with his "how to draw" series of books for children.
Along with this fun quilt for the new little girl, I gave her older brothers, ages 5 and 7, the books along with drawing supplies. I hope everyone enjoys their Ed Emberley experience.

The back of the quilt includes a panel with large drawings I could not cut.


There was a great panel, sort of, that went with the line of Ed Emberley fabrics. The panel shows with dotted lines how to cut around the large drawing and how they can be used. It was such a great panel that I left it whole and added it to the back of the baby quilt. I even left the selvage showing on purpose because it too added a special element to the quilt.

On to my next deadline. I have a name to add to the next baby quilt and need to get it delivered. Then I may make a list of things I want to accomplish for 2015. I'm not much of a list maker but there are things I really want to finish.................. Are you a list maker?

Sunday, November 30, 2014

Teaching "Liberated Basics"

C
Detail of  "Fireworks over Millennium Park."


 "Fireworks over Millennium Park" is the quilt I will be using to teach "Liberated Basics."


In 2015 I will be teaching a series of classes I am calling "Liberated Basics." In this series of three classes I hope to address some of the elements of Liberated quilting. Liberated quilting is very improvisational quilting and a pattern is not needed. The only thing needed is thread, fabric and imagination. I will teach the techniques by  using my quilt, " Fireworks over Millennium Park" as an example for this class. This quilt was a semi-finalist in the 2013 American Quilters Society Show in Grand Rapids, Michigan.  I will address how I created each of the elements of this quilt and will help the students in the class create their own one-of -a kind liberated quilts.  Quilters Square, a quilt shop in Lexington, Ky has graciously allowed me to use their shop to teach this series of classes. The shop will be providing the students with  a fat quarter pack of fabrics that "reads as solids."  I picked these fabrics because I think the end results will be fantastic. Some of  the fabrics in the fat quarter bundle include the line from Moda called Grunge. My goal is to inspire others to give liberated quilting a try. I will provide the students with my list of favorite inspirational quilt books. My favorite being books by Gwen Marston, the mother of Liberated quilting.  I have been quilting using elements of  this method for about five years and love the results.

Oh yes.... The classes are on Saturday from 10 a.m. to 1 p.m. January 10, February 14 and March 21. There is a price break if signing up for all three classes. You can sign up by calling Quilters Square.Call quilter's Square at 859 278-5010 to sign up. 

Friday, November 14, 2014

Machine Quilting Tricks

I was most fortunate to get an opportunity to spend time at a recent retreat hosted by world famous quilting sisters Pat Holly and Sue Nickles. These two Michigan girls know how to home sewing machine quilt. It was five days packed with information, instruction and inspiration.

 I am not new to machine quilting. I received "sticker shock" back in 2005 and it was the cost of having quilts completed by a long arm quilter that sent me to my home sewing machine. Thus I began  to quilt my quilts on my sewing machine. I have many quilts that I quilted and I must say much of the knowledge I have received about this endeavor has come from talking to quilting friends, reading books and much trial and error. There are things like needle size, thread size and different types of batting that matter.

There are many books written about  machine quilting by many different quilt artists. But the ultimate learning experience for me was sitting down with the pros at my own sewing machine and learning what they have to teach.


I have been sewing on a Bernina 440 with a BSR stitch regulator since this machine first introduced into the market. The Holly girls are Bernina embassadors and are familiar with this invention. I call it the $1,000.00 foot . The Holly girls refer to the foot as "quilting with training wheels."  It is quite the electronic attachment that helps control stitch length while free motion quilting. During the retreat I learned to quilt without the BSR.  Basically it means to slow down and be more intentional about where the stitches are going.

I learned to mark a quilt and draw feather designs. Personally, I have never been big on marking a quilt. My free motion sometimes calls for  register marks to keep the size of the quilting even, but for the most part I just jump in and quilt. I'm glad I now have these skills to add to my quilting arsenal. And I am going to use some of the feather designs on a top that I have waiting to be quilted.

I will also be returning to the Holly Girls Retreat in 2015. What wonderful teachers and I want to add more to my quilt skills arsenal.


This is the detail work on my 18"x18" sampler from The First Holly Girls Retreat.

Monday, September 15, 2014

Chattanooga Welcomes AQS Quilt Show

The riverfront of the Tennessee River in Chattanooga.


September 10-13, 2014 the City of Chattanooga, Tennessee hosted the American Quilters Society Quilt show in their downtown Convention Center. I had the pleasure of attending the event and I must say the City of Chattanooga and the town's quilters embraced the event. After a day of viewing quilts and exhibits at the Convention Center I took the time to visit the Tennessee Riverfront. It was fun being a tourist. I went to the outdoor art, a great restaurant, the IMAX Theatre as well as the Aquarium. What I wasn't expecting to see were more quilts. The Modern Quilt Guild Chattanooga had quilts hung in the IMAX theater as well as the Aquarium.


The Modern Quilt Guild had this quilt hanging from the rafters at the IMAX Theatre.


The Chattanooga Modern Quilt Guild must have been very busy in anticipation of the AQS Show. There were quilts of  fish throughout the Aquarium. But the most amazing collaborative was a series of  small quilts approximately 9"x12" each, all side-by-side that represented the Tennessee River. What a fun project that must have been for the guild.


Small quilts from 26 different quilters make their interpretation of the Tennessee River.


Quilts were a fun surprise to find in the Aquarium and the Imax Theatre. I was impressed with Chattanooga and how they embraced the AQS Quilt Show and I will definitely return next year. Maybe I can talk some friends into coming along.


My quilt "Flight Patterns" was an entry in the show and the centerfold in the AQS quilt catalog.


I did have one of my quilts in the show. My quilt, "Flight Patterns" was a semifinalist. The quilt was not a ribbon winner but I was pretty excited to have it pictured in the centerfold of the catalog. This was my first time to be in the centerfold.
 
I am currently finishing up on a quilt that measures 59"x62". Yea! About the time I am finished with a quilting project I am also ready to move on to another project. I  have several small projects waiting. I have four nieces pregnant and must  honor my mantra, "Every child deserves their own quilt." I will post as they are completed. Happy Stitching.


Thursday, August 21, 2014

Following the Kentucky State Fair Quilt Judge

Volunteers gather around as judges critique "Best of Show" quilt.


Last week I had the opportunity to volunteer during the quilt contest judging for the Kentucky State Fair. I spent the day doing various tasks including writing judges comments, folding quilts, attaching ribbons and spreading quilts out for the judge to view. But more importantly I spent the day learning. My guess is there were nearly 500 quilts entered and each quilt was given proper attention for the contest.

I appreciated the certified judge taking time to point out to the volunteers great work along with common mistakes in quilting. The judge realized the volunteers  came to help, but also came to learn. With each quilt she started with praising what was good about the quilt then added suggestions for improvement. Hopefully each contestant can learn from the judges comments.

I want to share some of the things the judge I assisted found important in creating an award-winning quilt.


*Binding - Each quilt she commented on the binding. Some of her binding tips:  Be sure your thread matches the binding. Make sure the binding is full. Sew strips of binding together on the diagonal so not to create lumps in the binding. She is also a fan of binding cut on the bias because she says it will wear better. An accomplished quilter as well as a judge, she shared a trick in keeping the binding full. The trick she uses in keeping binding full is to cut extra batting in one quarter inch strips and insert it as the binding is sewn down.  Be sure the corners are properly mitered and the miters are sewn closed.

*Piecing: Make sure points are not cut off. When a pattern has sashing she suggested adding cornerstones to the sashing even if it is the same color. The reason is because it will help keep the sashing straight. Quilts with crooked sashing or borders were "dismissed." I loved they used the word "dismissed" rather than "rejected." It's so much kinder.

*Quilting: She inspected the quilting carefully for stitch length, thread color choice and workmanship. If the stops and starts and the quilting were obvious that was noted. Many of the quilts were noted as "Needs more quilting."

*Color and design: Each quilt was judged for color and design and she often commented if the colors had value.

*Applique or embroidery: When the quilts were appliqued or embroidered the stitches were inspected for tension.

*Piecing the back. Quilts that were pieced with two equal pieces on the back were noted. She suggested when piecing the back to always piece the seams vertically and never down the middle of the back. The reason is the middle is where the quilt will be folded and this will add stress the the seam. She suggested piecing the back somewhere other than the middle. The reason to piece the backing vertically is because if the quilt is ever hung the vertical seam will not stress the quilt as much as a horizontal seam. (I must admit I am guilty of piecing the back horizontally  because this method saves fabric.)

*Folding. While this was not a category that counted she did give the volunteers this tip: Her suggestion in folding a quilt was to fold from top to bottom twice and then fold from the middle. The reason is when the quilt is hung the weight of the quilt will pull out the horizontal folds in the quilt.


I know this is a lot but if you have entered a quilt in a show the minute details matters. Make sure your great works get the ribbon it deserves. Watch for the detail. I challenge you to enter a quilt in a show and Good Luck!!!

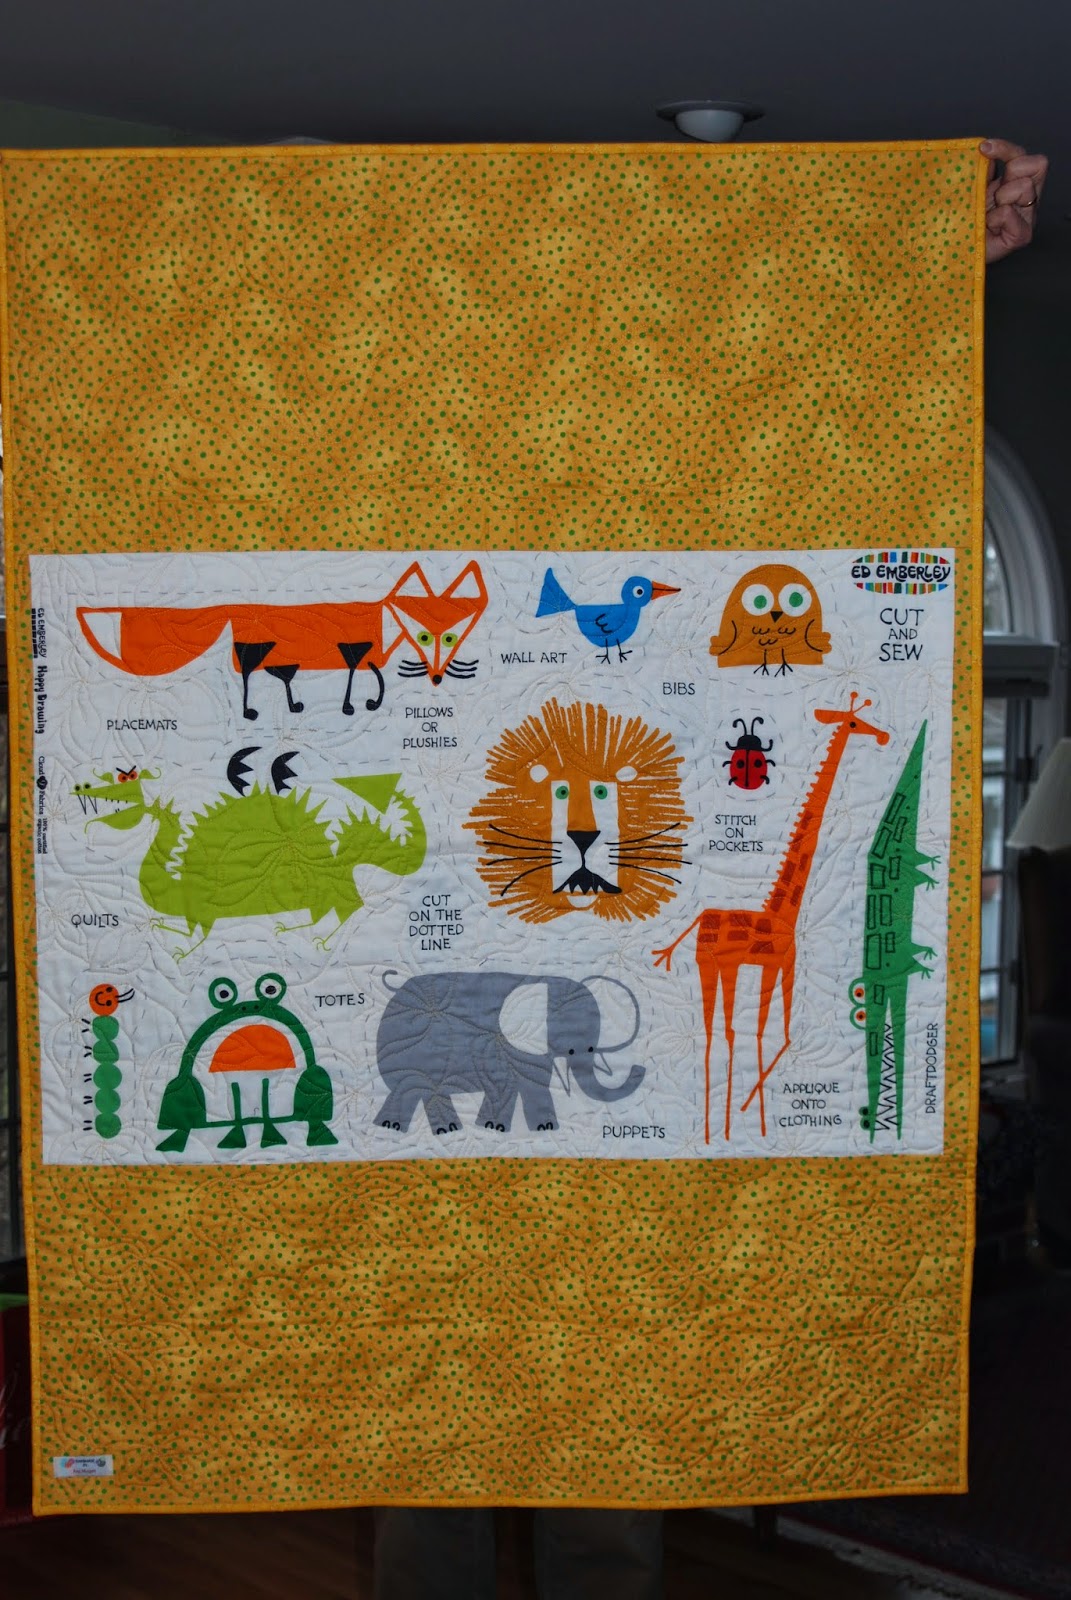
Sneak peek of the quilt currently on the design wall.


I am working on a really fun quilt and will give you a sneak peek. I will post more when it is closer to being finished.


Monday, July 28, 2014

Jiffy Baby Quilt for the Little One

My Jiffy Baby Quilt goes together quickly.


Another baby arrives and this time I put together a quick quilt I call my "Jiffy Baby Quilt." Just by looking at the photo you can get an idea of how this is a simple quilt. This is very liberated and can be made from pulling fabrics from your stash and scrap bags. When I cut the colorful strips of various widths I cut the white background pieces at the same time and stored them together until I was ready to sew. Just make sure your rotary cutting blade is sharp because it will be going through 3 or four thicknesses of fabric. 

I love the name "Jiffy" in this quilt for several reasons. One is it reminds me of my youth and learning clothing construction with "Simplicity Jiffy" patterns. The patterns always had only one to four main pattern pieces and were perfect for beginners or for constructing a new outfit quickly." Jiffy"  also reminds me of  the cornmeal mix. This is a great product for the beginning cook or the cook in a hurry. I love that the iconic box label has remained the same for years. Here's to the word "Jiffy."

Back to the quilt. I started this quilt by picking out a backing fabric first. Sometimes I do that because it helps me to narrow down what colors will be on the front of the quilt. I chose the cute owl fabric because..... it is cute.

The cute owl fabric is the back of the Jiffy Baby Quilt.

The owl fabric has great colors so it was easy to find coordinating fabrics from my stash for the front. The other reason I like this style of quilt is because I can have fun with the quilting. I use my home sewing machine to quilt. Baby quilts fit nicely under the throat of my machine and this quilt measures 36"x38" so there is no need to piece the back.

 I quilted each strip of this quilt using a different quilt pattern. It is a great place to try out new designs. The other thing I like to do is include the baby's name and birth date in the quilting. This is a personal touch that I hope makes it special for the family.


This is a close up of the quilted name , weight and date of birth.


A close-up of  some of the playful quilting stitches.


Please try making your own version of "Jiffy Baby Quilt." I would love to see what you come with, you can email me at this link.

As you know I am working on my Hipster profile. (Owls are hipster and so is Instagram.)  I would like to invite you to follow me on Instagram @sundayfarmingquilter or go to this link. I will be tagging some of my blog photos to share with others.